




خبر
Resonance: A Plague Tale Legacy Chapter 7 Walkthrough – Death It Sowed Trial Guide
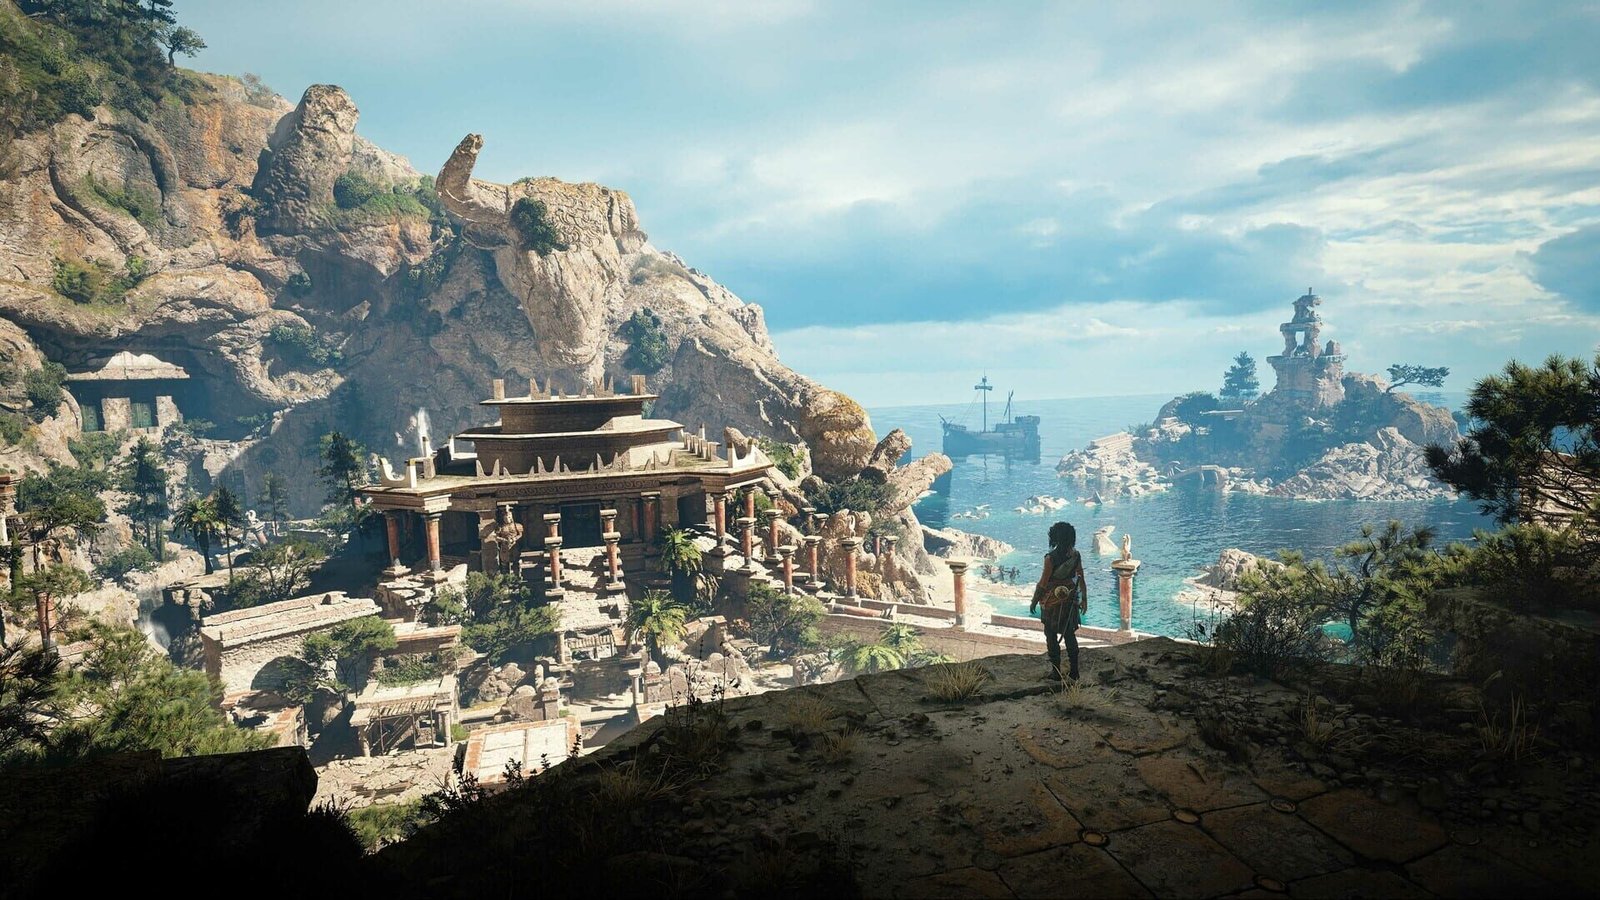
Resonance: A Plague Tale Legacy Chapter 7, titled "Death It Sowed," picks up after Sophia's encounter with the beast beneath the island's ruins in Chapter 6.
في هذا المقال
Resonance: A Plague Tale Legacy Chapter 7, titled “Death It Sowed,” picks up after Sophia’s encounter with the beast beneath the island’s ruins in Chapter 6. Now determined to find her companion Leni and complete the Third Trial, players face a series of environmental puzzles, combat encounters, and the black temple’s locked doors.
Navigating to the Trial and Beyond
Chapter 7 opens with Sophia heading along a dirt path toward the Trial entrance. Players immediately encounter a massive pit filled with ruins and water. The route forward requires hugging the left ledge, then using the Grapnel hook to traverse around the pit’s edge. After descending via another Grapnel hook—with a Resonance Point available just before the drop—Sophia enters a small chamber filled with bones.
Once inside the black temple’s chamber doors, the next major objective involves defeating soldiers scattered throughout the ruins before reaching the black temple itself. Along the way, players use Grapnel hooks to climb rock formations and navigate underground passages. A key landmark is a ruined minotaur’s head; heading left toward it rather than following a dead-end staircase keeps progression on track. More soldiers guard a camp near the black temple’s entrance, requiring combat before reaching the temple’s doors.
Solving the Lens and Temple Puzzles
To open the gates blocking the way forward, players must manipulate two cranks in a bone-filled chamber. One crank sits in the middle of the room; the other is behind rocks at the back. The puzzle requires directing light onto a podium by moving lenses with each crank—first rotating the rear lens to shine light through the front lens toward the door above, then using the middle crank to align that light with the gemstones on the door. Standing on the podium and using the Sphere’s Splitting Light ability to match colored lights to gemstones opens the passage.
The black temple’s door itself demands solving a skull button puzzle. Standing on the pedestal directly in front of the door and using the Sphere’s Reveal Light ability exposes glowing gemstones on the door face. These gemstones correspond to four skull buttons on pillars outside the temple. Players must press the buttons in the revealed order: the fourth column (rightmost), third column, first column (leftmost), and second column. Pressing them in the correct sequence unlocks the temple doors and allows progression deeper into Chapter 7.
Why This Matters
Chapter 7 marks a significant story beat in Sophia’s journey, shifting focus from survival against environmental threats to purposeful progression through ancient trial structures. The mix of light-manipulation puzzles and combat encounters represents the core gameplay loop the Plague Tale series has established—blending environmental storytelling with logic-based challenges. The introduction of the black temple and its locked doors signals escalating stakes for the Third Trial objective.
What’s Next
Players completing these early Chapter 7 objectives will advance toward the labyrinth and further confrontations within the trial structure. Additional boss encounters and the ultimate fate of Leni remain ahead as Sophia pushes deeper into the chapter.